|
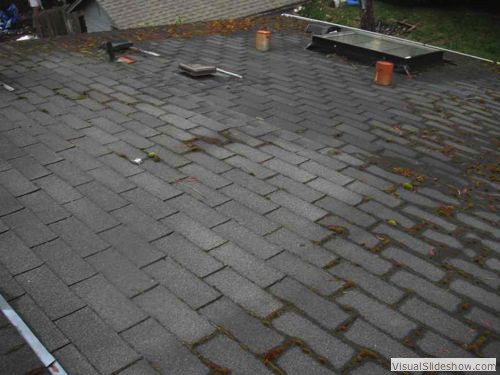
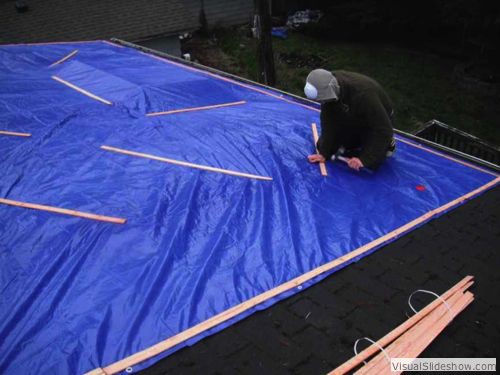
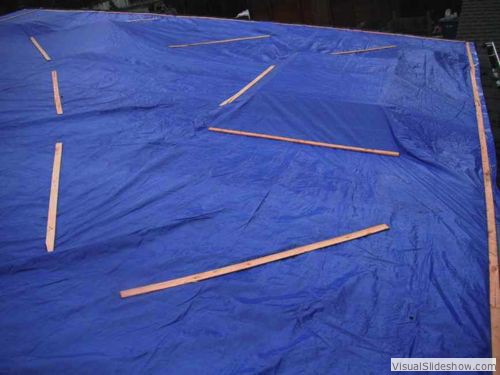
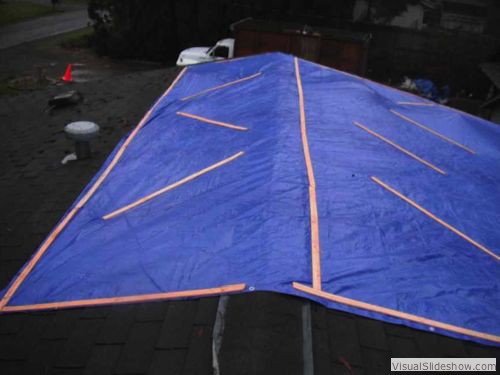
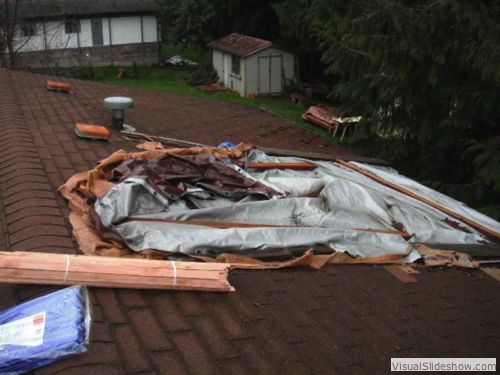
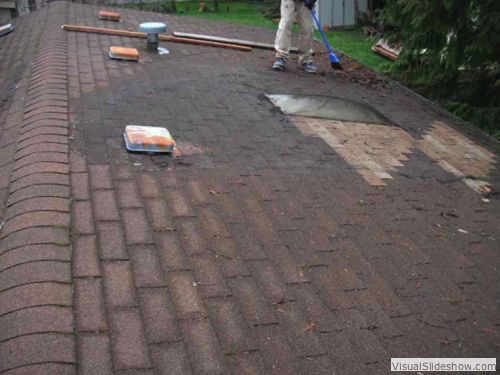
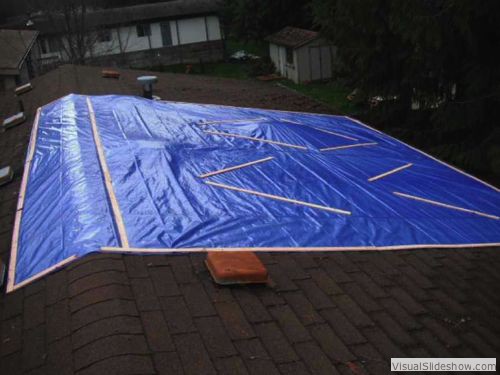
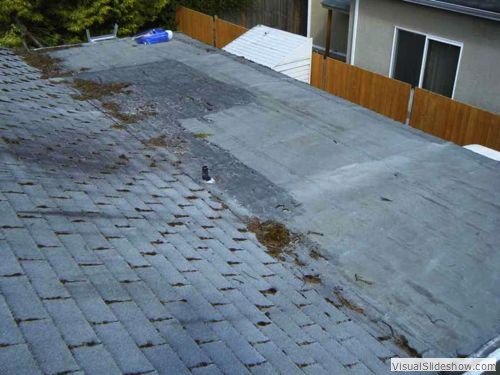
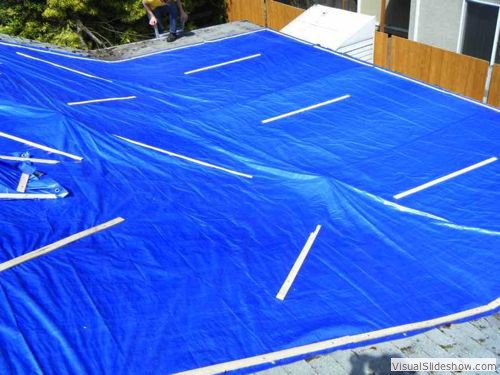
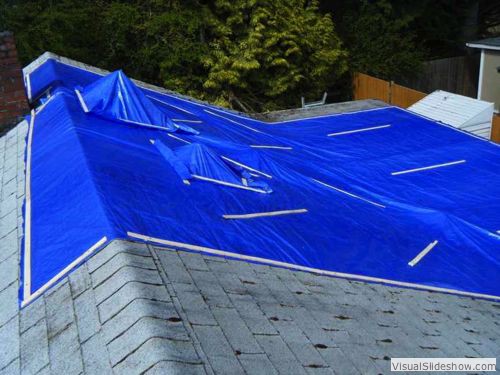
A Roof Tarp Must Be Done RightA roof tarp is of primary importance if the property preservation contractor arrives at a property that has an active roof leak. Some clients, in fact, give authority to the contractor to immediately proceed with a tarping of the roof if there is an active roof leak. Others require the contractor to first obtain a bid approval before tarping a leaking roof. Placing a tarp on a roof is clearly not performing a permanent roof repair. It is, in fact, according to HUD, a 30-day remedy until the roof can be permanently restored. Even though this is true, tarps on homes in foreclosure are often left much longer than 30 days. These are the critical issues for a properly-tarped roof: When the tarp must go over a chimney or tall roof jack, the tarp cannot lie flat and loses its rectangular shape. To remedy this, cut a hole in the tarp where there is a protrusion from the roof. Then secure a smaller piece of tarp over the chimney or roof jack. Make sure you take at least these photos: |
